All pictures are thumbnails. Click on them for a larger version.

Insulating foam to keep interior cool
The car transport guy dropped my Noble off at my house on July 4. One of the first things I learned is that the interior gets warm. Sure, the a/c has enough power to cool things off, but I'm a windows down kinda guy. One solution, converting to a single turbo, is covered on another page. This page is about insulation. I cut 1" thick, high "R" value foam insulation purchased from McMaster to fit between the frame rails as shone here.
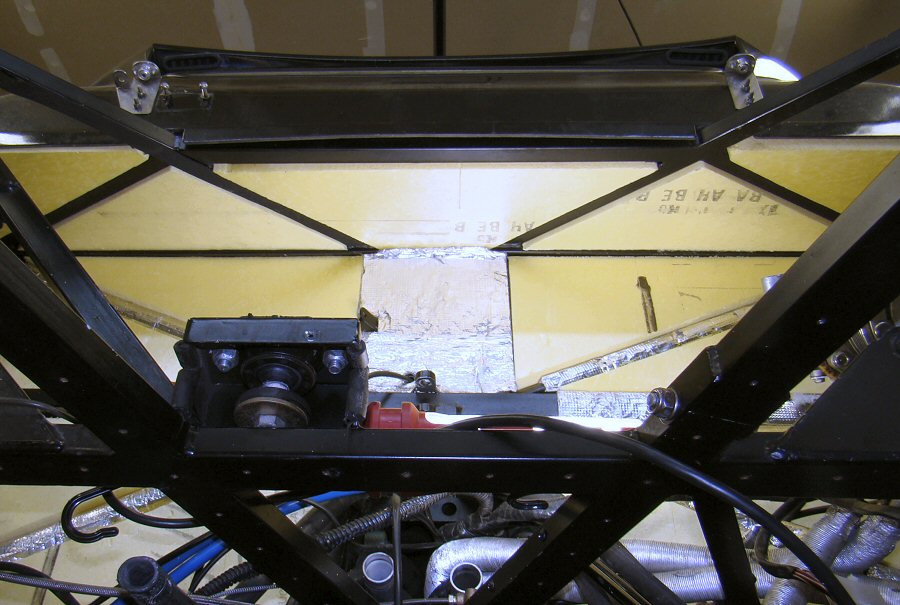
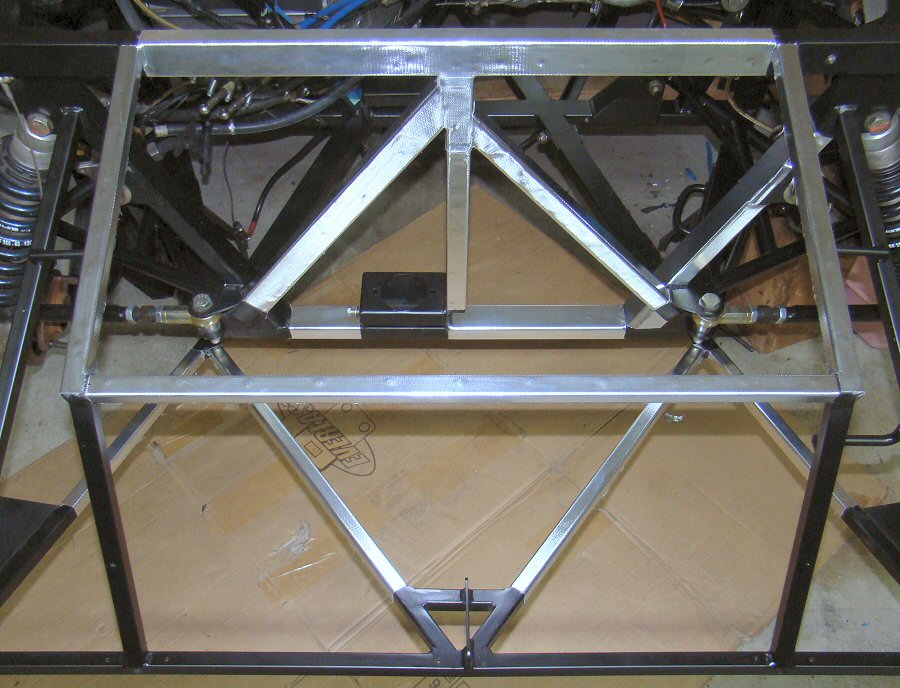
More foam under shelf below rear window
I cut more foam for the horizontal deck area below the rear window. This pic might be confusing at first - you are looking up from the garage floor through the chassis frame rails. The foam wedges that you see from about 1/3 of the way from the bottom of the pic to 2/3 from the bottom are vertical. They rest against the firewall separating the interior from the engine bay. The foam wedges you see in the top 1/3 of the pic are horizontal. Directly above them is a horizontal shelf that is below the rear window.
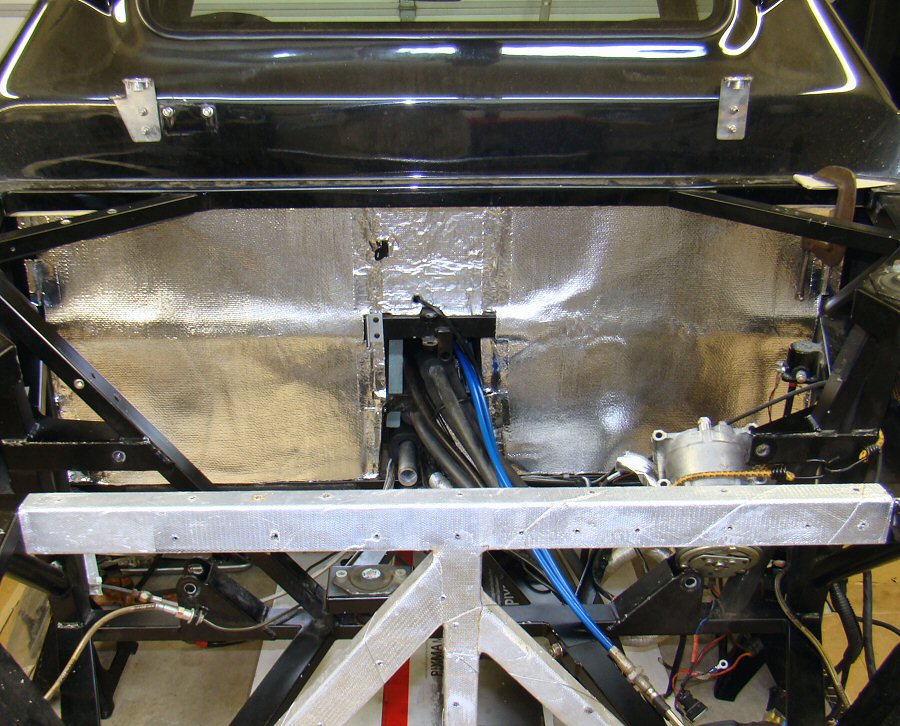
Firewall radiant barrier, version 1
With the foam secured, the next step was to add a radiant barrier. I generally use aluminized fiberglass cloth made by DEI. I've made some insulation changes since this pic was taken. There is another pic on the next insulation page that shows the changes.
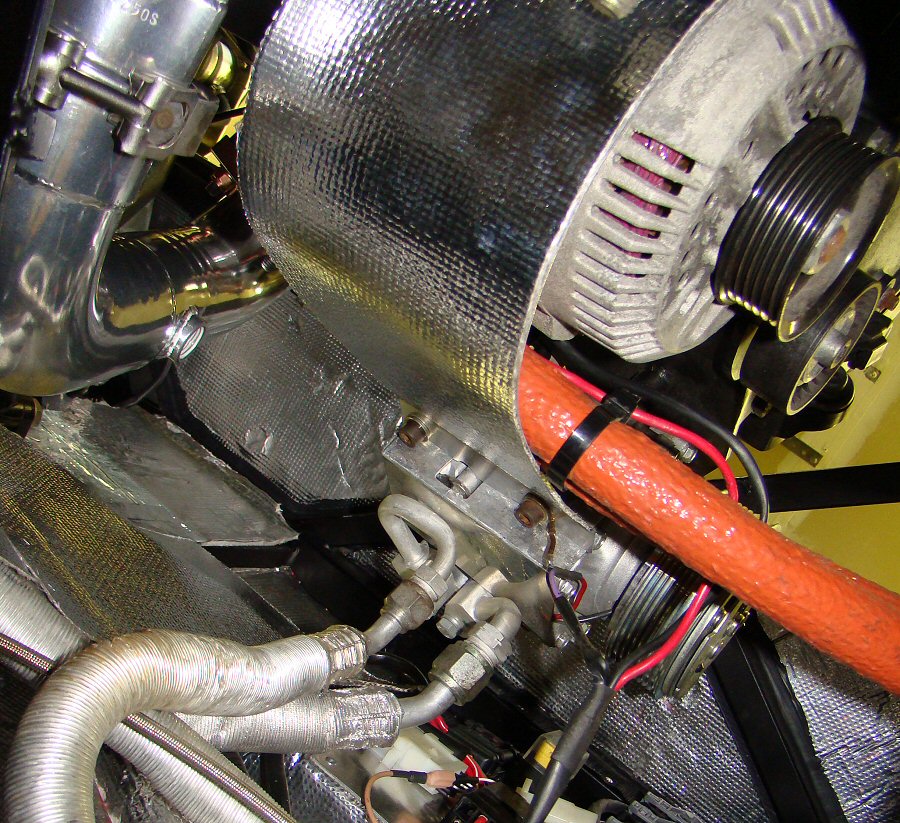
Protect alternator and wiring from glowing exhaust
Nobles are somewhat infamous for melting alternator wiring because of its proximity to the front turbo. My single turbo conversion means that I no longer have a front turbo, but I still have an exhaust pipe near the alternator that I'm sure glows at least cherry red when I'm in boost. I made this heat shield to protect the alternator and its wiring. Note that all the red, rubberized fiberglass tubing used by Noble has been replaced. This is an old pic!
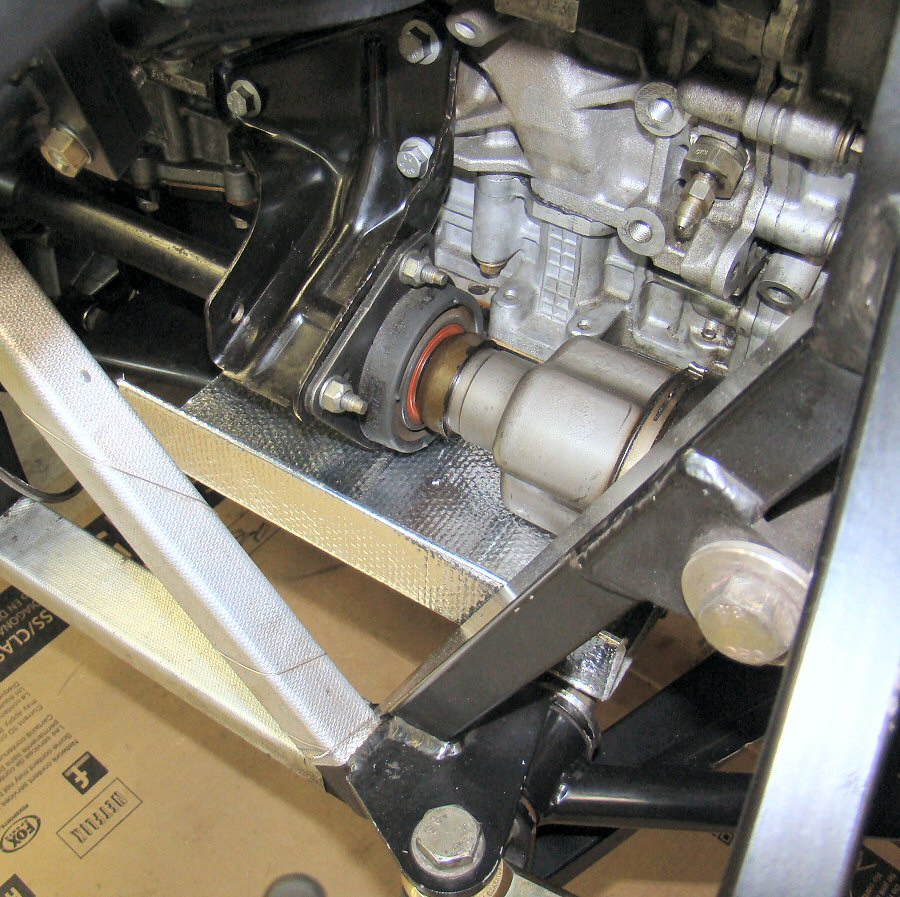
Protect CV joint and bearing from hot exhaust tube
Exhaust from the front cylinder bank passes under the oil pan, then passes under this bearing and CV joint before joining up with the rear bank exhaust. There was no protection for the bearing or CV joint, so I fabbed up a simple shield and covered both sides with DEI radiant barrier. Maybe now the bearing and CV joint will live a long and trouble-free life. Not shown is yet another radiant barrier below the rear bank exhaust header.

Protect oil filter and cooler lines from cherry red header
Noble provided a radiant barrier to shield the oil filter and cooler lines from the front bank exhaust header. But it bolted to the exhaust header studs. Call me picky, but why couple a heat shield directly with the heat source? I made this heat barrier and bolted it to the block. As usual, both sides are covered with DEI radiant barrier material.

Template for fuel tank insulation
Noble had applied a radiant barrier to my fuel tank, but it arrived pretty badly beaten, then the tank was reworked to create a sump and a garage for the fuel pump (detailed on the Fuel page). I removed all the factory material (not fun) and made this template for new foam insulation.

Insulating foam cut and glued
I bought flexible insulation foam from McMaster and attached it with high temp 3M aerosol adhesive. The gaps are needed for the aluminum angles that hold the tank in place.

Fuel tank radiant barrier installed
With the foam in place, my next step was to install the radiant barrier. This is thicker than my usual DEI aluminized fiberglass cloth, and is self adhesive. I'll update this page after I remember what I used.
New barrier on frame tubes
This pic could have been on my page about creating a better looking engine bay. After painting the frame tubes with a paint that matched the factory powder coat, I replaced the factory radiant barrier with new stuff. I used a self adhesive barrier for this application, and I'll update the site when I remember exactly what it is. Note that I've covered all the screw holes formerly used for the air/air intercooler enclosure. I no longer use that enclosure, and this was an easy way to keep water out of the frame tubes.
But wait! There's More!
You're on page 1 of a two-page set. Click the buttons below to switch between the two pages of insulation upgrade descriptions.

