All pictures are thumbnails. Click on them for a larger version. Adobe flash is just for a sound file.
Problem: Poor flow through factory intercooler
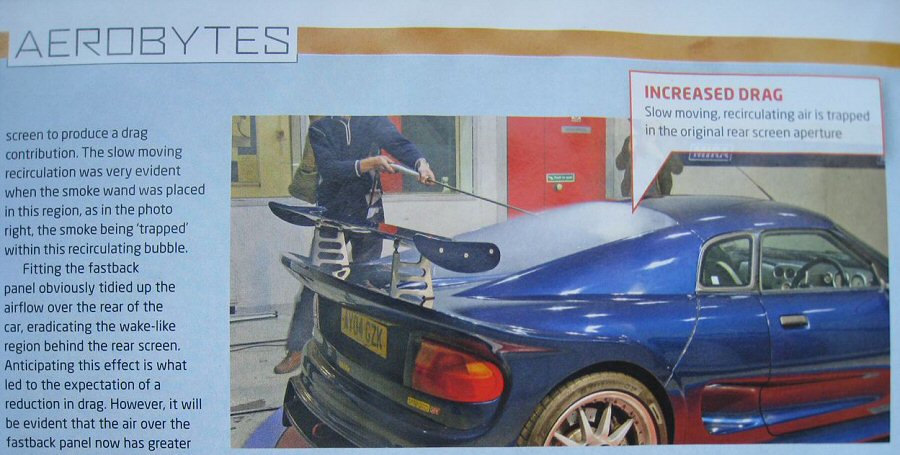
Turbo engines need intercoolers, and intercoolers need a steady flow of ambient air to carry away the heat they've pulled from engine intake air. The Noble intercooler is located in the rear of the car, directly above the exhaust system (!). And, as shown in the wind tunnel pic above, it gets very little ambient air flowing through it. I saw intake air temps of 140F on a 65F spring day when I parked for a 20 minute coffee after a spirited drive. A 30 minute highway drive brought the intake air temp down to the 120s. Clearly the factory intercooler doesn't work as it should.
My solution: Air/water intercooler
Changing aero by converting the rear clam to a fastback design might help some, but that design still forces ambient air to make a sharp turn from the fastback surface to the intercooler inlet. And air doesn't ever want to turn. Many owners add fans, but they will only decrease heat soak when parked, which will run down your battery. Fans block intercooler fin area, and become an obstacle to air flow as car speed increases. At 80 mph you might as well cover part of the intercooler with cardboard. It's cheaper than blocking air flow with a fan. My solution to this mess was to build an air/water intercooler system.
Cue young Frankenstein

It should fit
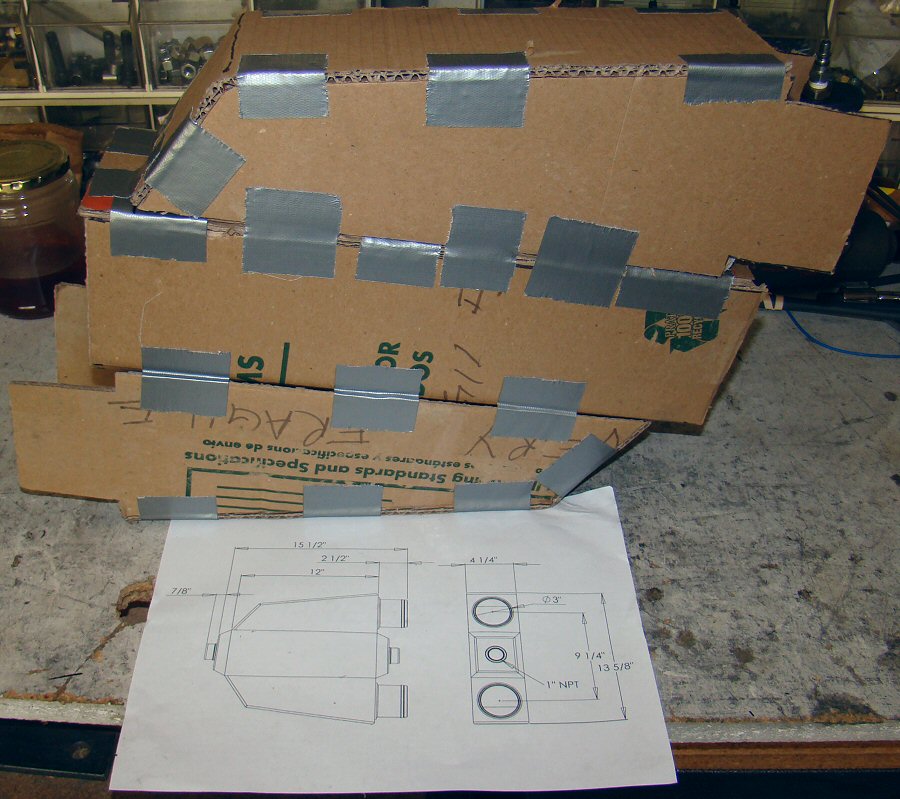
My cardboard mockup suggested that a good sized air/water core and tanks would fit. Note that I use only the finest of prototyping materials!
Yep, it's gonna fit
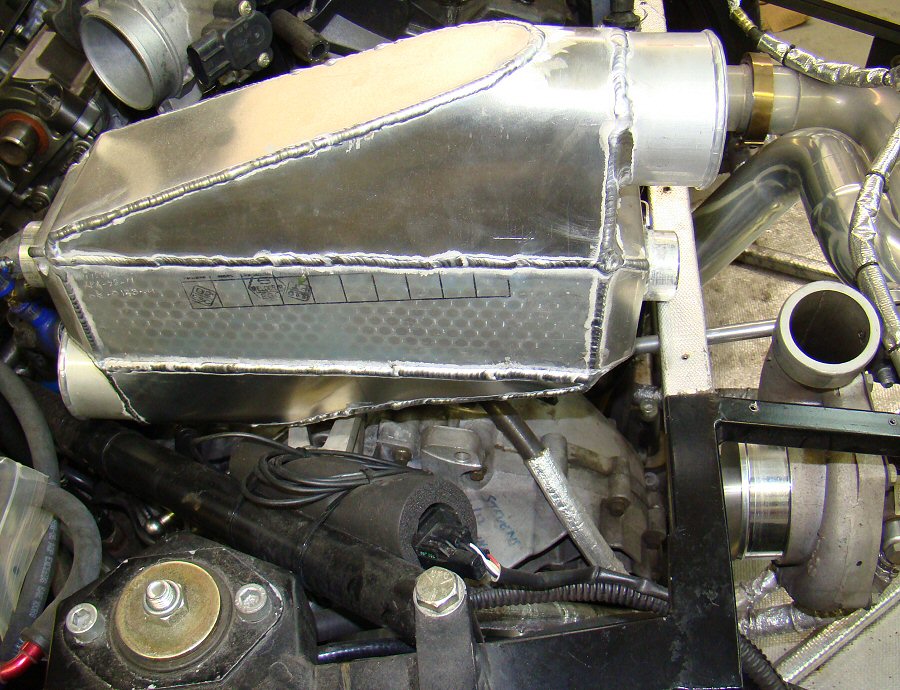
I bought the core from Garrett and had fabricator buddy Alan Blaine of Blaine Fab build the air and water end tanks to my design. The air tank tapers are intended to equalize flow across the core. There are lots of good tank design resources online and in print.
First trial fit
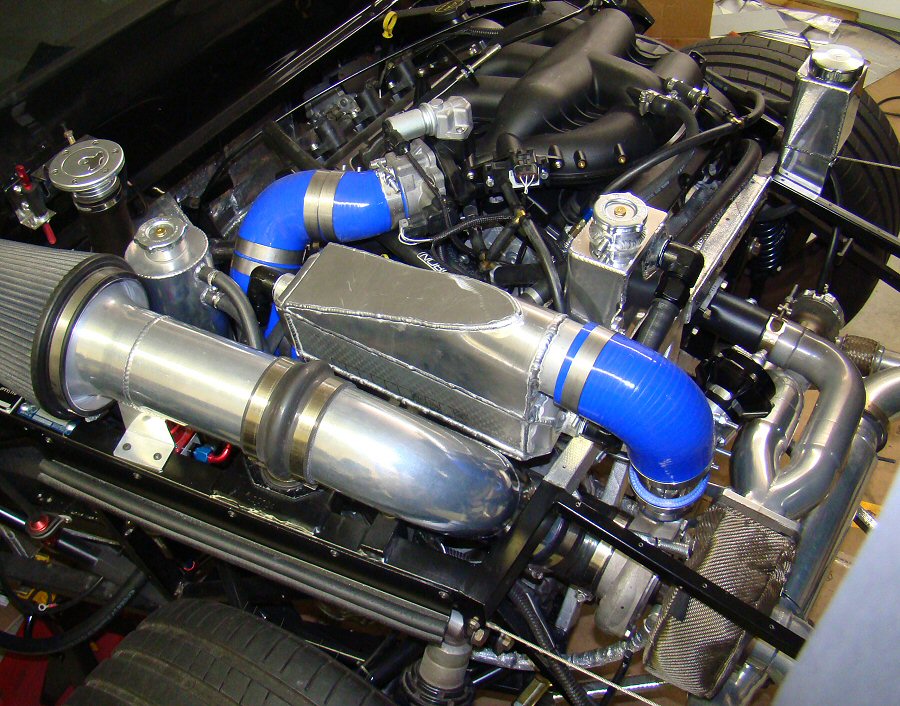
The cardboard prototype paid off. This shot shows the air and water circuits fully connected. And the clam closes without hitting anything. Victory! The Canton tank (polished, of course!) in the upper right corner is the high point in the system, and the fill point. Some day I'd like to replace the silicone elbows and aluminum coupler tubes between intercooler and throttle body with a single piece, molded silicone tube, but that's not a priority.
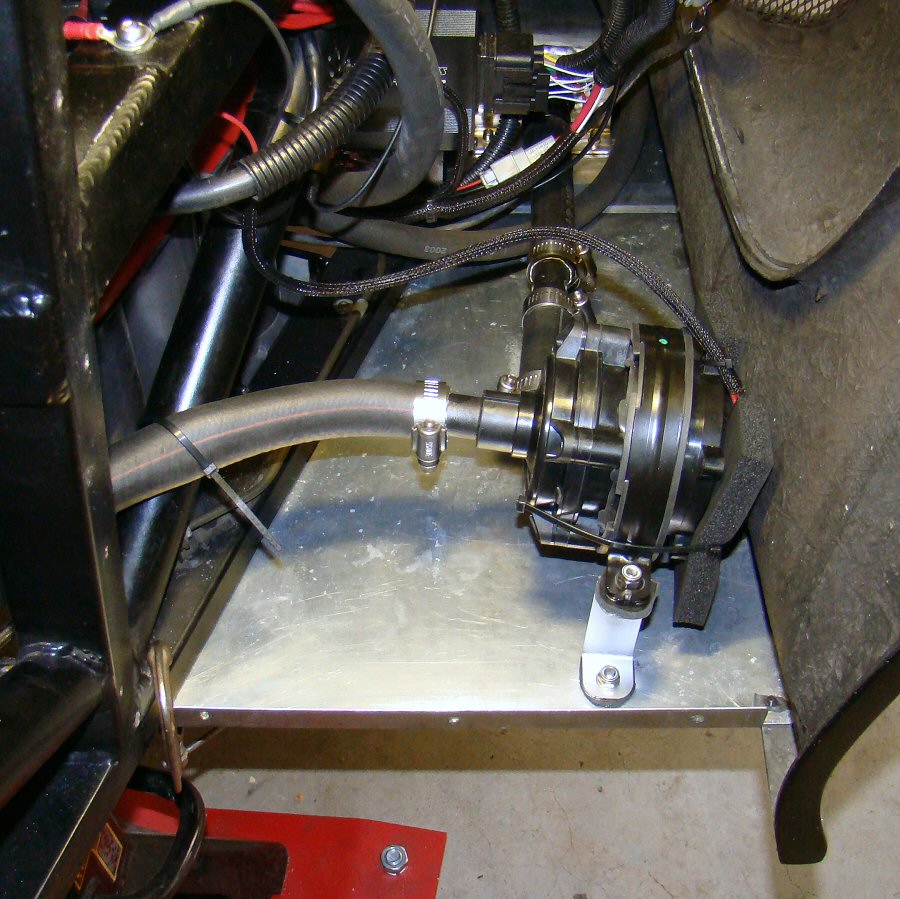
ZL1 camaro water pump
I did a lot of research on water pumps before settling on this GM part number that was used for the ZL1 supercharged Camaro intercooler. Lingenfelter published pump flow data on their web site showing that this pump had sufficient flow for my application. Since it's a GM factory part used on a production car, I have reason to believe it is more thoroughly engineered and tested than most aftermarket parts. That should translate into a long, trouble-free life. I hope. This pic is a bit stale - the pump is now mounted with the inlet pointing straight up. Same location, though, and I was able to reuse the bent aluminum mounting bracket.
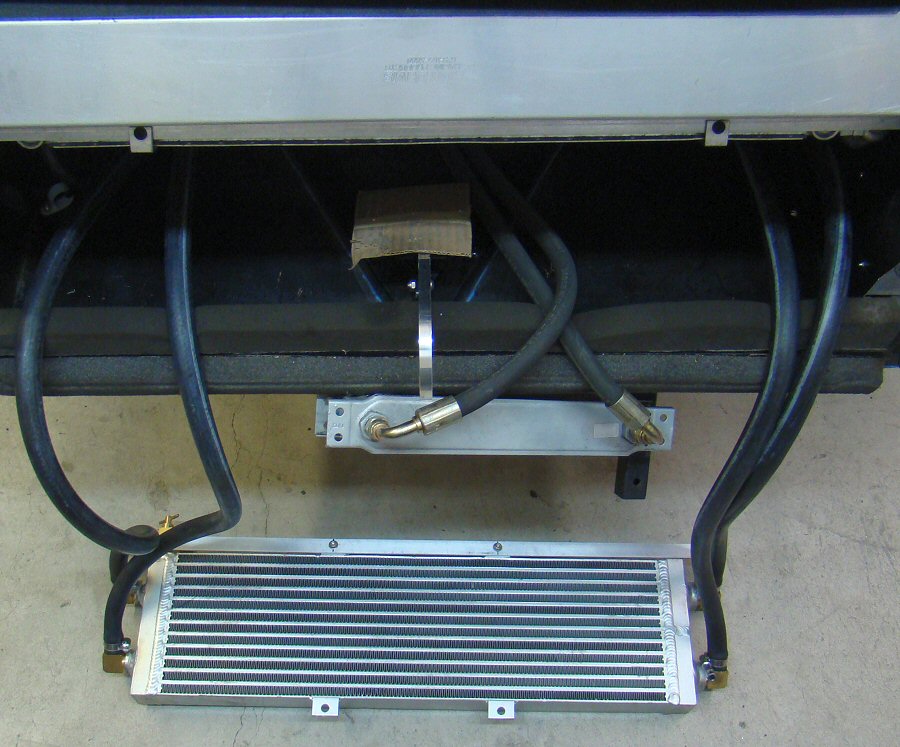
Biggest radiator that would fit
Finding an appropriate radiator was the most time consuming part of this conversion. I wanted the widest possible core, and one that was fairly tall, but not so tall that it covered all of the engine coolant radiator. This radiator is close to ideal. With inlet and outlet elbows installed as shown, it just barely fits. But fit it does, and without the elbows rubbing. This part was designed to be dual pass (inlet and outlet on the left end with a u-turn on the right end). Craig Hill welded two new bungs on the right end so that water flows left-to-right through the whole core.
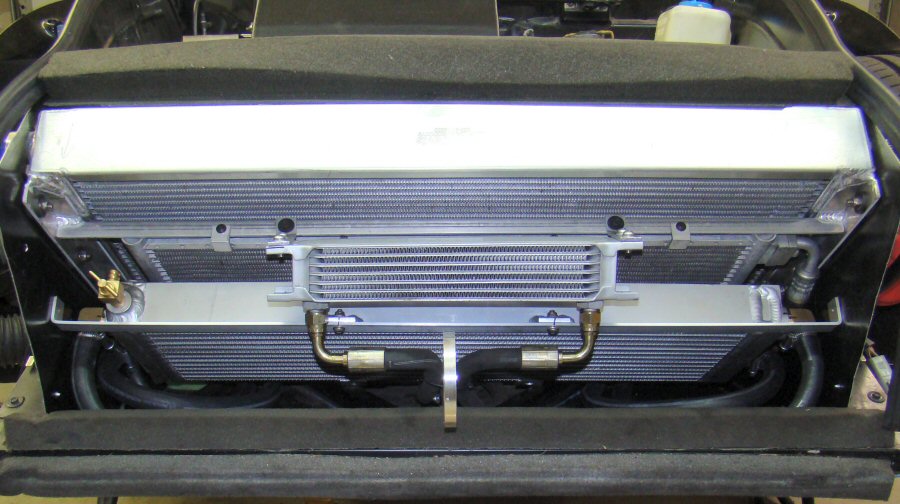
Radiator installed and plumbed
This pic shows the new intercooler radiator, the a/c condenser, engine coolant radiator, and steering fluid cooler all mounted. Happily, nothing up here leaks. The petcock lets me bleed any air that might get trapped in the radiator.
But wait! There's More!
You're on page 1 of a two-page set. Click the buttons below to switch between the two pages of air/water intercooler upgrade descriptions.

